WP Super Cache is a powerful caching tool for WordPress that can offer significant performance improvements. For a brief overview of what WP Super Cache is, what it does, and why it is beneficial for your WordPress website, check out my earlier article here.
4 Steps to Performance Gains
Click on any of the images below to enlarge them.
1. Install WP Super Cache
You can install WP Super Cache by downloading it here and following the usual plugin installation procedure, or you can install it by searching for it in the “Add Plugins” section of your WordPress dashboard. Once installed, activate it. You will see a warning message like the one below.

This is telling you that even though the plugin is active, WP Super Cache is disabled.
2.Enable WP Super Cache
Click the link provided in the warning message above, or navigate to “WP Super Cache” under the “Settings” menu on your dashboard. You will be taken straight to the “Easy” setup screen which looks like this:
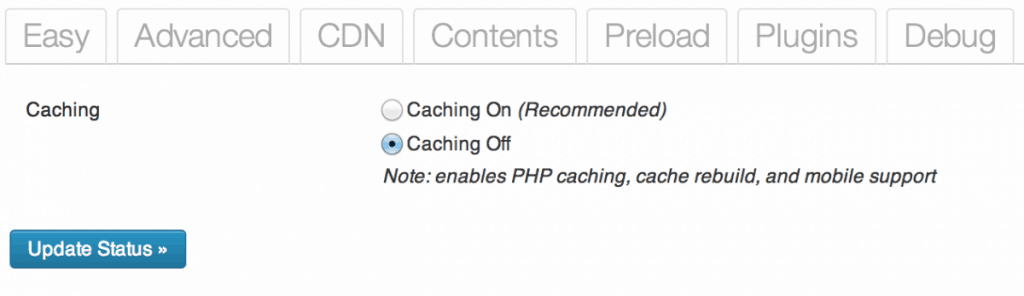
If you are not comfortable with the advanced mode, turning caching on here will give you a performance boost with no fuss. I recommended delving into the “Advanced” tab though.
3. Set the Advanced Configuration
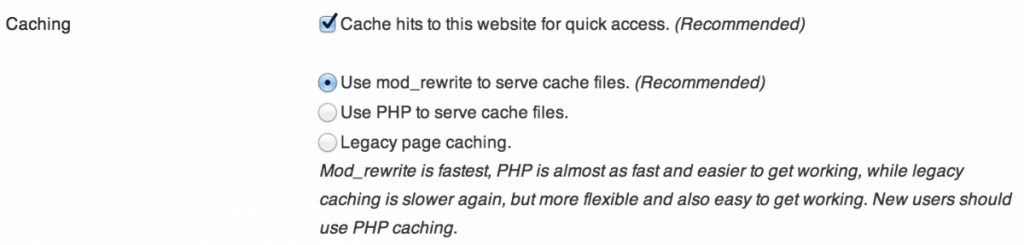
There are 4 main sections that need to be set up here. The first is “Caching”. If you have not already enabled caching in the “Easy” section, tick the “Cache hits to this website for quick access.” box. I recommend using mod_rewrite to serve your cached files, but some servers may not support this, if you have trouble with mod_rewrite, try PHP.
Next up are the “Miscellaneous” settings. I recommend ticking the 4 boxes below:
- Compress pages so they’re served more quickly to visitors.
- 304 Not Modified browser caching. (Note, this doesn’t work with all hosting providers and may be crossed out.)
- Don’t cache pages for known users.
- Cache rebuild.
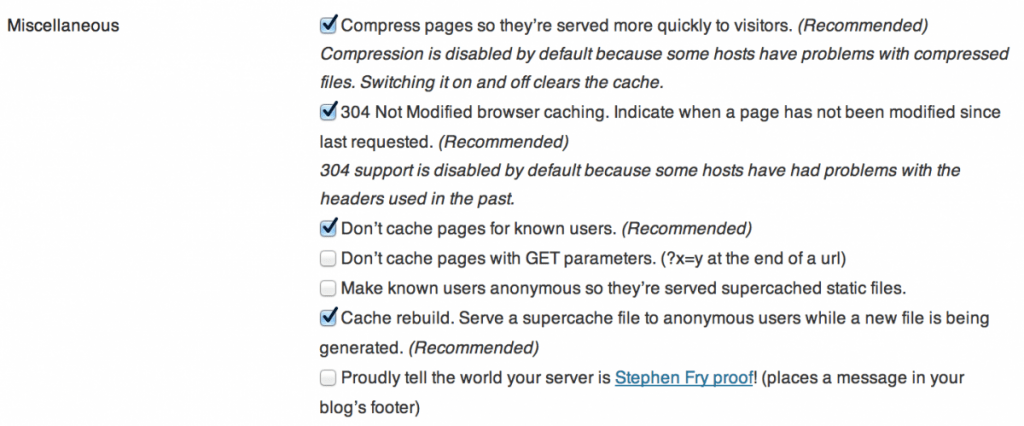
These settings will compress the cached files so they are served even faster again it then tells return visitors whether or not the page has changed since they last viewed it so their browser knows it can use a locally cached version without having to download it again. The third options mean the non-cached site will be shown for known users, so you will always see the latest version of your website and bypass the caching system. Finally, the last option means that when a page is being rebuilt a user is sent the previous version of it from the cache instead of the non-cached website.
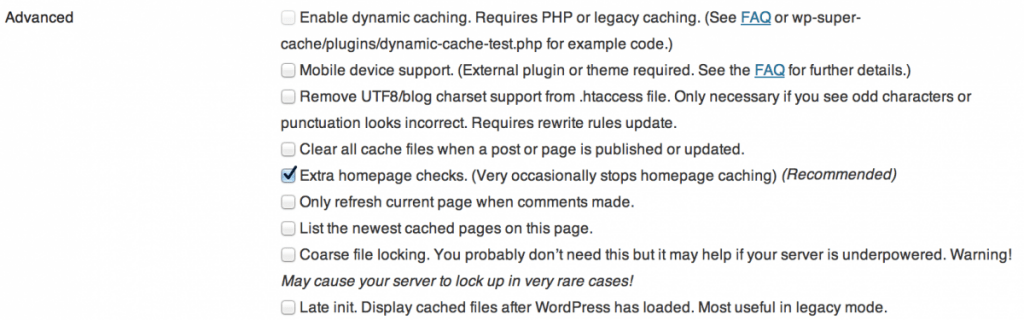
Now we have the “Advanced” advanced settings (yep, there is an advanced heading within the advanced section). The main thing I recommend here is ticking the “Extra homepage checks” box. If you are running a mobile website, I also recommend ticking the “Mobile device support” box. You will need a plugin to control the mobile theme switching though.
Once you save these changes using the “Update Status” button located below them.
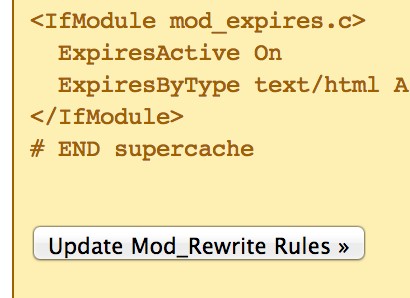
After those changes are updated you may need to update the Mod Rewrite rules in your .htaccess file. On most servers, WP Super Cache can do this for you automatically, but if not, it can be done by clicking the “Update Mod Rewrite Rules” button at the bottom of the yellow box showing the rules that need to be applied.
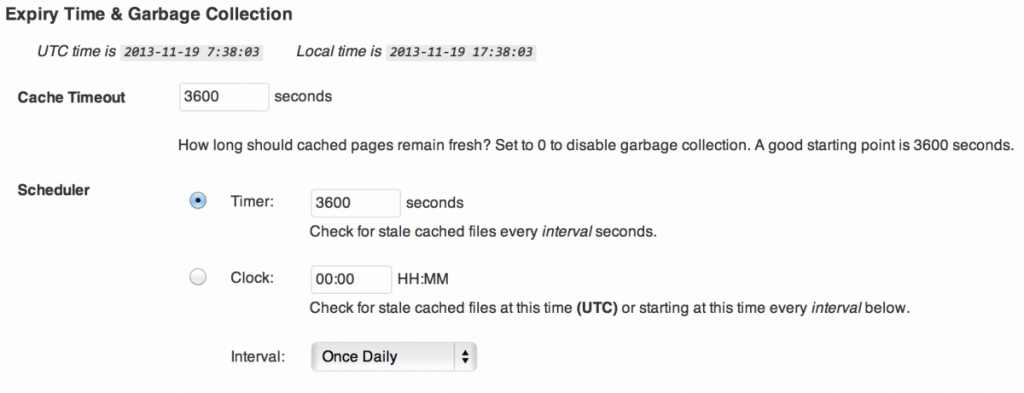
Don’t forget about the garbage!
Next up we need to set out cache expiry and garbage collection so we don’t end up with lots of old cache files filling up the server. For most websites, a cache timeout of 3600 seconds is good with a timer set to 3600 seconds as well. Make sure you save this by clicking the “Change Expiration” button below it.
I don’t recommend changing anything else here unless you know what you are doing.
4. Enable Plugins
WP Super Cache comes with a number of plugins to add extra functions, you can access them under the “Plugins” tab. Most of the time you won’t need any of them, but if you are using Jetpack to generate a mobile site for you, I do recommend enabling Jetpack Mobile Theme support by checking the Enabled box as below and clicking the “Update” button.