My favourite WordPress plugin for managing affiliate links is ThirstyAffiliates, by far. It’s very straightforward to use and brings together a plethora of important features for affiliate marketing, especially when combined with the paid ThirstyAffiliates Pro upgrade. Inclusions with the pro version that I particularly love are geolocation redirects, automatic linking, and the link health checker. Even the free version includes the ability to create reusable cloaked affiliate links. Depending on your usage, there are a number of other great inclusions like Amazon importing, .htaccess redirects, automated affiliate disclosure, URL shortening, integration with WooCommerce 3rd Party product linking, and access control for multi-author blogs.
My favourite though is probably the auto-linking because, besides the obvious external linking usage, you can also use it internally to automatically create links between your own blog content, for example, auto-linking keywords to categories or particular posts.
I’m assuming you have ThirstyAffiliates installed and activated on your blog already. If not, grab the free version from WordPress.org here. Once you have it, let’s start creating affiliate links!
Let’s create a new affiliate link
In this article, I’m going to create an affiliate link for ThirstyAffiliates. I already have an affiliate link for them that looks like this:
https://thirstyaffiliates.com/?aff=04048aeca2c0f5d84639358008ed2ae7
Not so pretty, or easy to remember if you need to use it multiple times on multiple blog posts. The goal is to make it easy to re-use this link as many times as we need to without having to remember it. At the same time, we want to be able to see a quick overview of how many times it is being clicked without having to go into our affiliate account.
Step 1 – Navigate to the “New Affiliate Link” screen
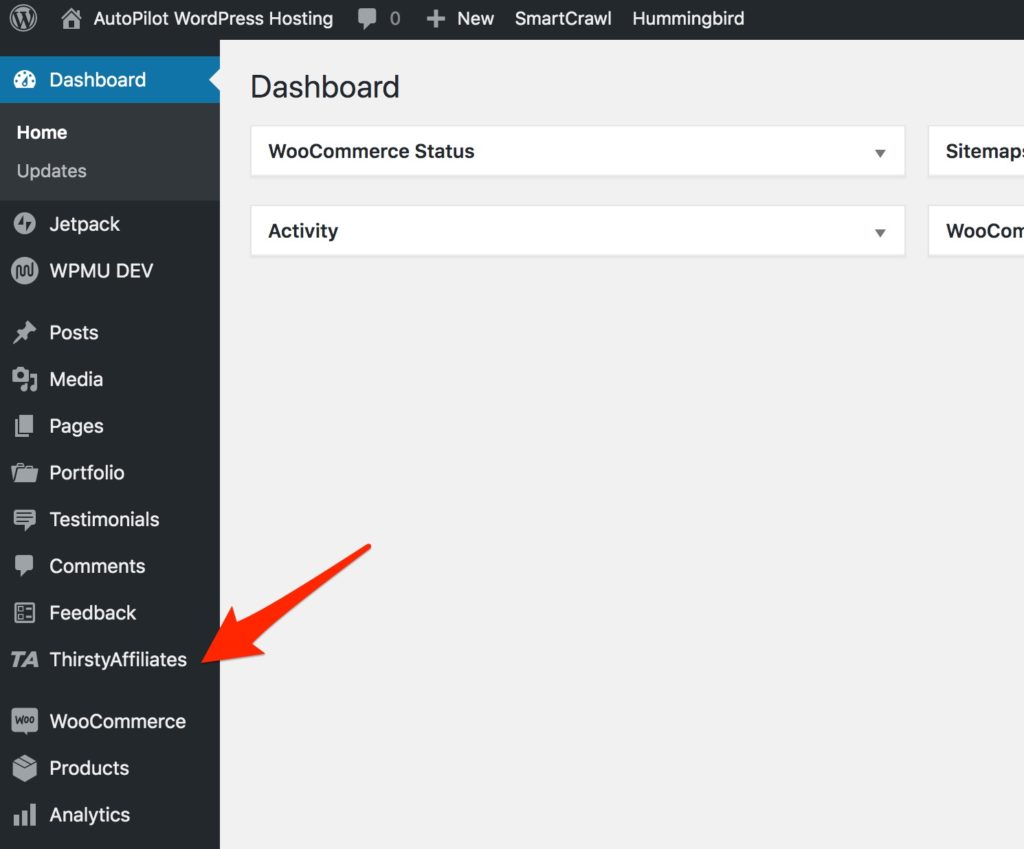
When ThirstyAffiliates is active on your WordPress blog, it adds a new menu item to the WordPress admin menu called “ThirstyAffiliates”.
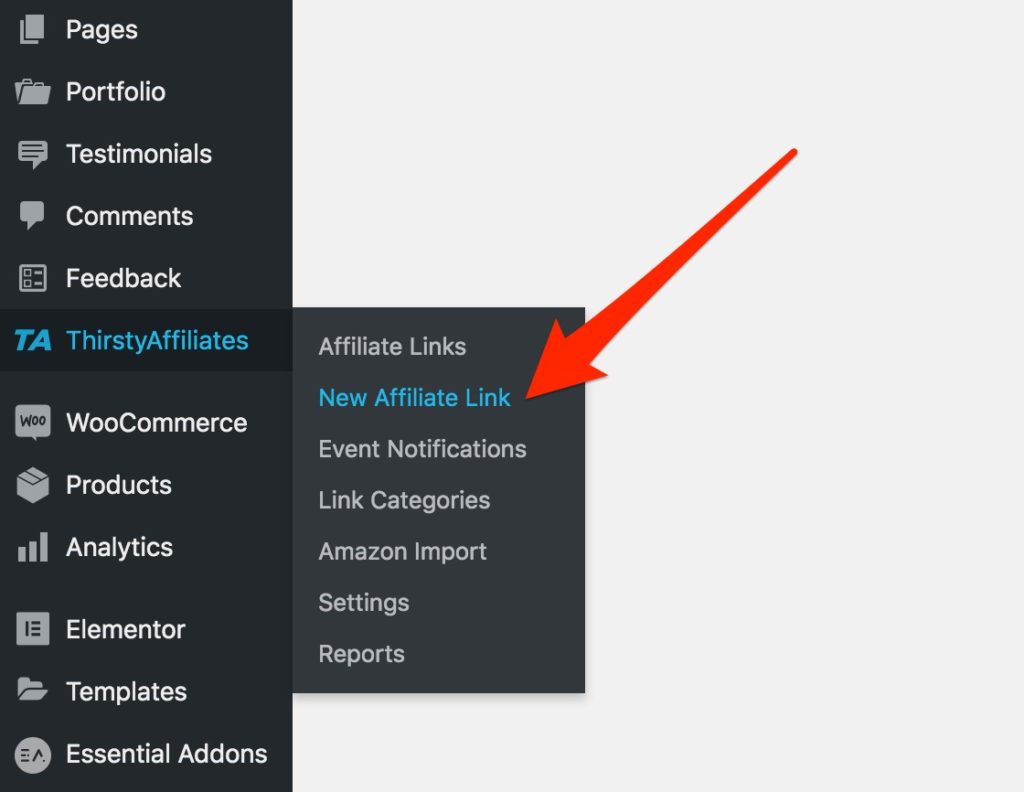
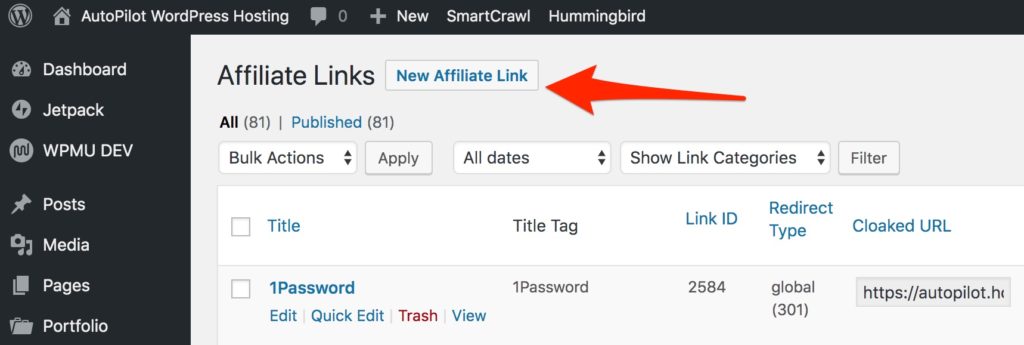
Hover over this menu item to see the sub-menu and you will find a link called “New Affiliate Link”. Click it.
If you just clicked “ThirstyAffiliates”, it will take you to the list of affiliate links already setup. Probably none if it’s your first time! you can create a new affiliate link from this screen by clicking the “New Affiliate Link” button at the top of this screen.
2. Fill in your affiliate link details.
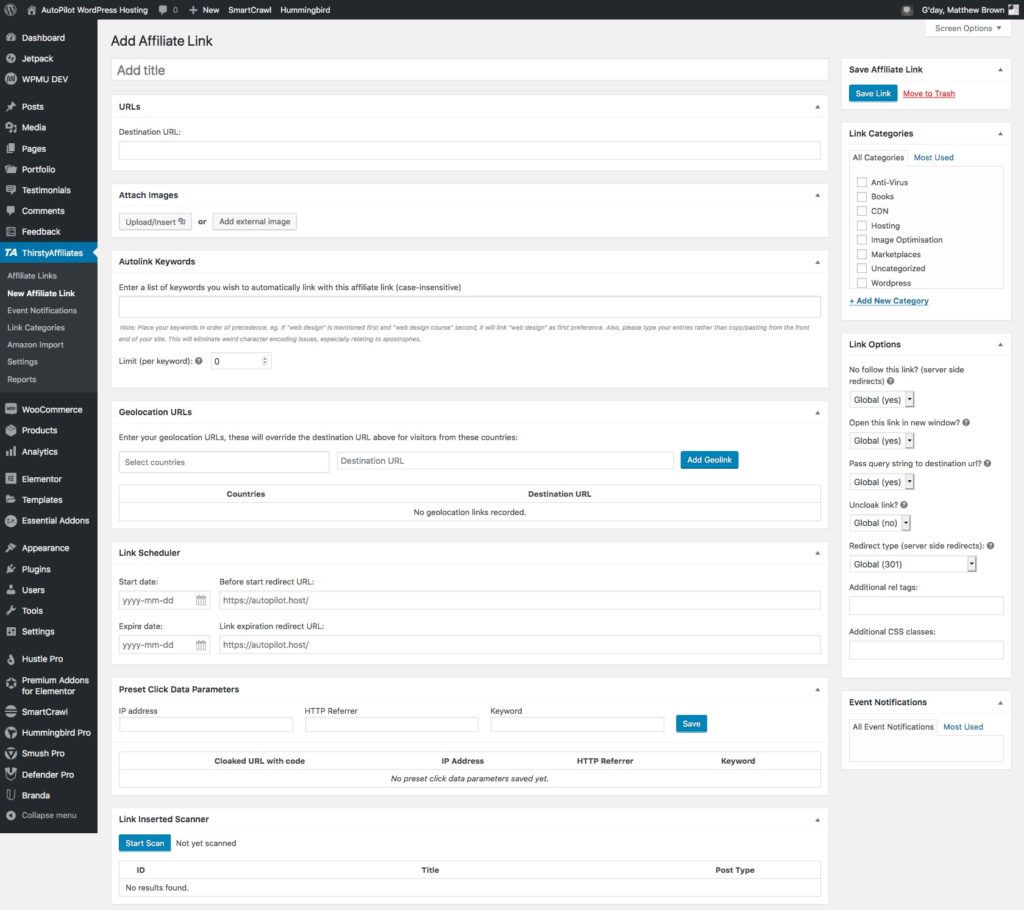
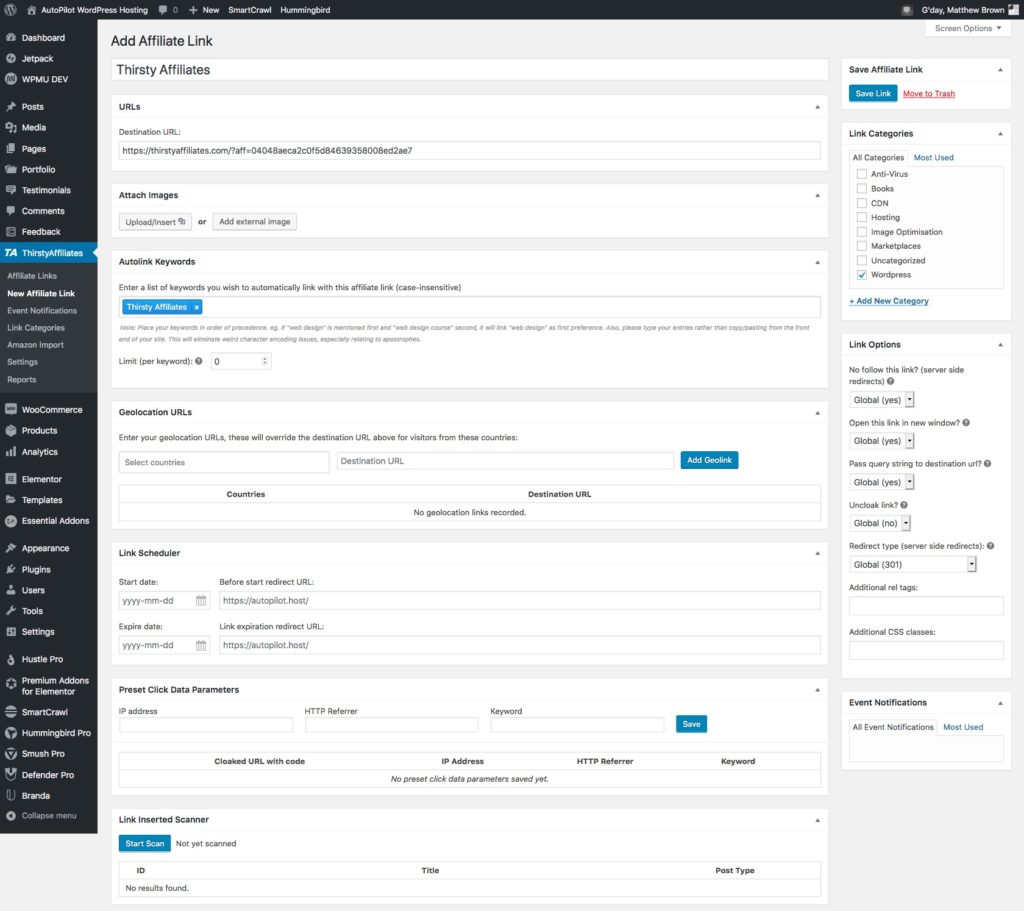
The “New Affiliate Link” page is straightforward and pretty self-explanatory (part of why I like this plugin so much). It will look something like the screenshot below, although the actual options available will vary depending on whether you are using the free or pro version, and which modules (aka features) you have enabled. In my case, I also already have some categories setup.
The key fields to fill in are the “Title” and the “Destination URL”. Everything else is optional.

The link title is used internally to make it easier for you to find the link later, and it is also used to create your affiliate link slug (aka the URL on your site that redirects to the actual affiliate link).
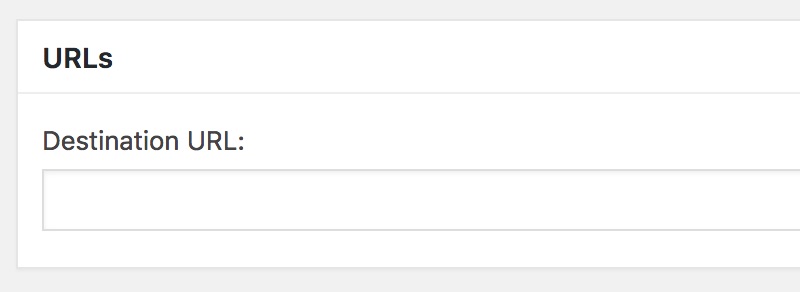
The destination URL is the actual affiliate link, the address where you want anyone who clicks on the link to end up. In my example case, this would be:
https://thirstyaffiliates.com/?aff=04048aeca2c0f5d84639358008ed2ae7
If you aren’t using any other settings, you can save your link now by clicking the blue “Save Link” button at the top right of the screen.
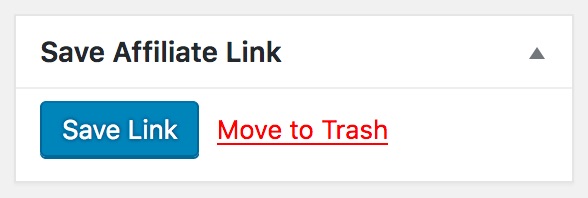
If you need to change things later, it’s all good, you can edit everything after you save it.
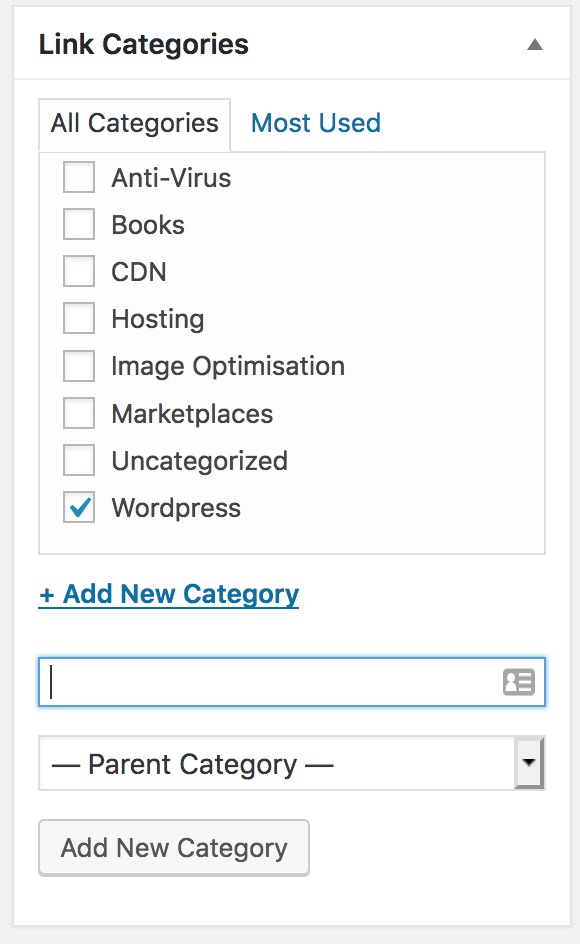
I would suggest making sure you categorise your links. Categorisation just makes it easier to work with when you have lots of them. The categories selector works just like selecting blog post categories. Simply tick the box beside the categories you want this link to be a part of.
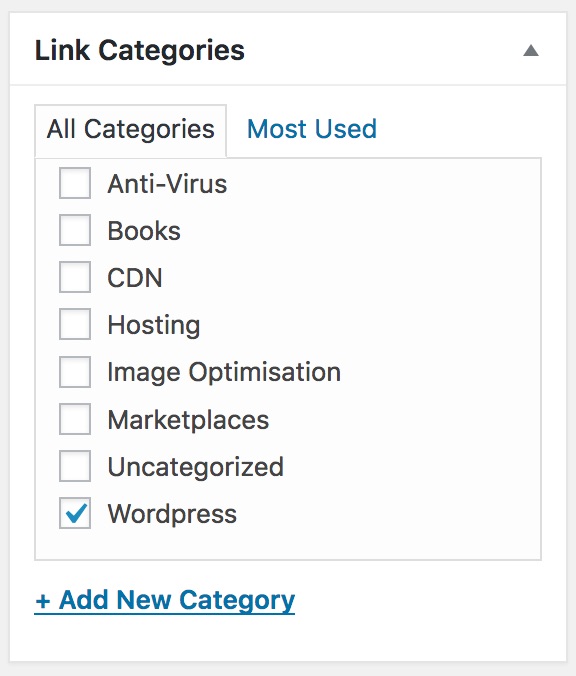
If you need to create a new category, you can do so from the same screen by clicking the “+ Add New Category” link below the list. Again, this works just like adding a new category to a blog post. Just type in the name of the category, select the parent category (if any), and click the “Add New Category” button.
3. Configure any other options
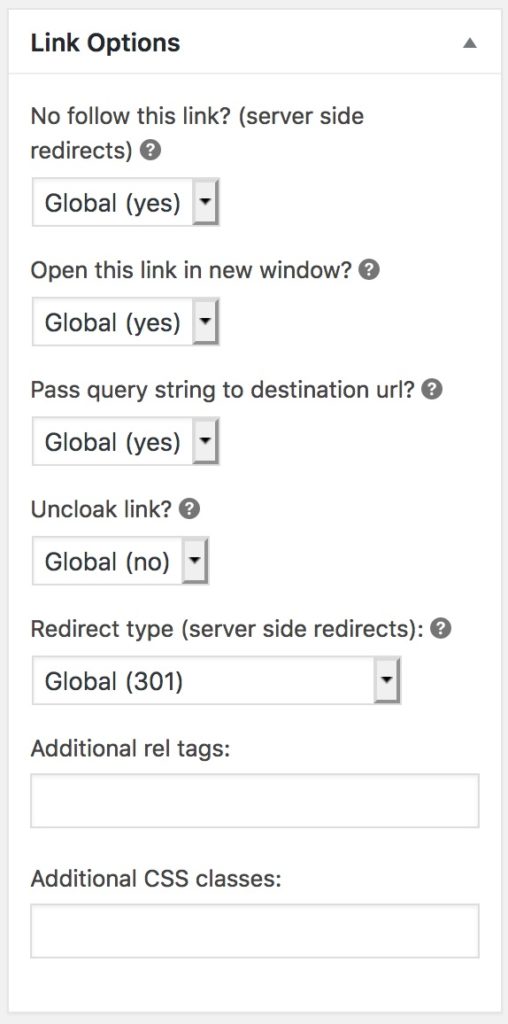
In the right column, there are a number of options available that impact your link behaviour. These options default to your global configuration which is set in your ThirstyAffiliates settings. Below are the defaults I use. I find these to be the best options for most links, but sometimes I do need to change them. For example, if I’m linking internally – say an auto-link to a category – I would set “No follow this link” to no because I want search engines to follow my internal links.
Since the purpose of this article is to create cloaked affiliate links, we want to make sure that the “Uncloak Link?” option is set to either “No” or “Global (no)”. If you go with the global choice, it will update based on your global system settings. So if you want this link to always be cloaked even if you update your global settings in the future, make sure to select “No”.
If you are unsure about what these options do, hover your mouse over the little ? icon for a brief description.
Since I am using the pro version of ThirstyAffiliates, I also have access to auto-link keywords and geolocation links. I am going to use auto-linking for this affiliate link. I’m going to auto-link the keyword “ThirstyAffiliates” so that any time it appears without a link already attached to it, the ThirstyAffiliates plugin will add the affiliate link for me. This is especially useful if you know you have used the keywords previously in other posts and don’t want to have to go back and add the links in manually. You can also choose to apply a keyword limit in the “Limit (per keyword)” field. This limits the number of times per post or page that an affiliate link is automatically added. So if the limit is 1, it will link each keyword once only per page or post. If the limit is 5 then it will link each keyword 5 times within each page or post.
You can enter multiple keywords, in my example, I might also link “Thirsty Affiliates”, to capture any references to it that have a space between the words. Use commas to separate each keyword.

I’m not going to use geolocation URLs in this example since there is only one place that a potential buyer can purchase ThirstyAffiliates Pro, and it doesn’t matter what country they are coming from. A great use case for this would be product purchases. On my personal blog, Still As Life, I use geolocation URLs to link to vendors (mostly Amazon) based on location. So, my destination URL entered earlier becomes the default for visitors for any country that doesn’t have a dedicated destination URL set. To configure override destination URLs for visitors from certain countries, I would select the appropriate countries in the “Select countries” field, and then paste the destination URL for those countries into the “Destination URL” box. Finally, clicking the blue “Add Geolink” button will add that override. Repeat as many times as necessary.

Below is an example from Still As Life that has different URL’s for different countries, most going to different Amazon sites, and one going to eBay.

I’m finished setting up my new affiliate link in ThirstyAffiliates now. This is what it looks like before saving:
Once I’m satisfied that I’m ready to save it, I can do so by clicking the blue “Save Link” button in the top right that I mentioned earlier. Upon saving, you will be redirected to your new link edit screen. It will look something like this:
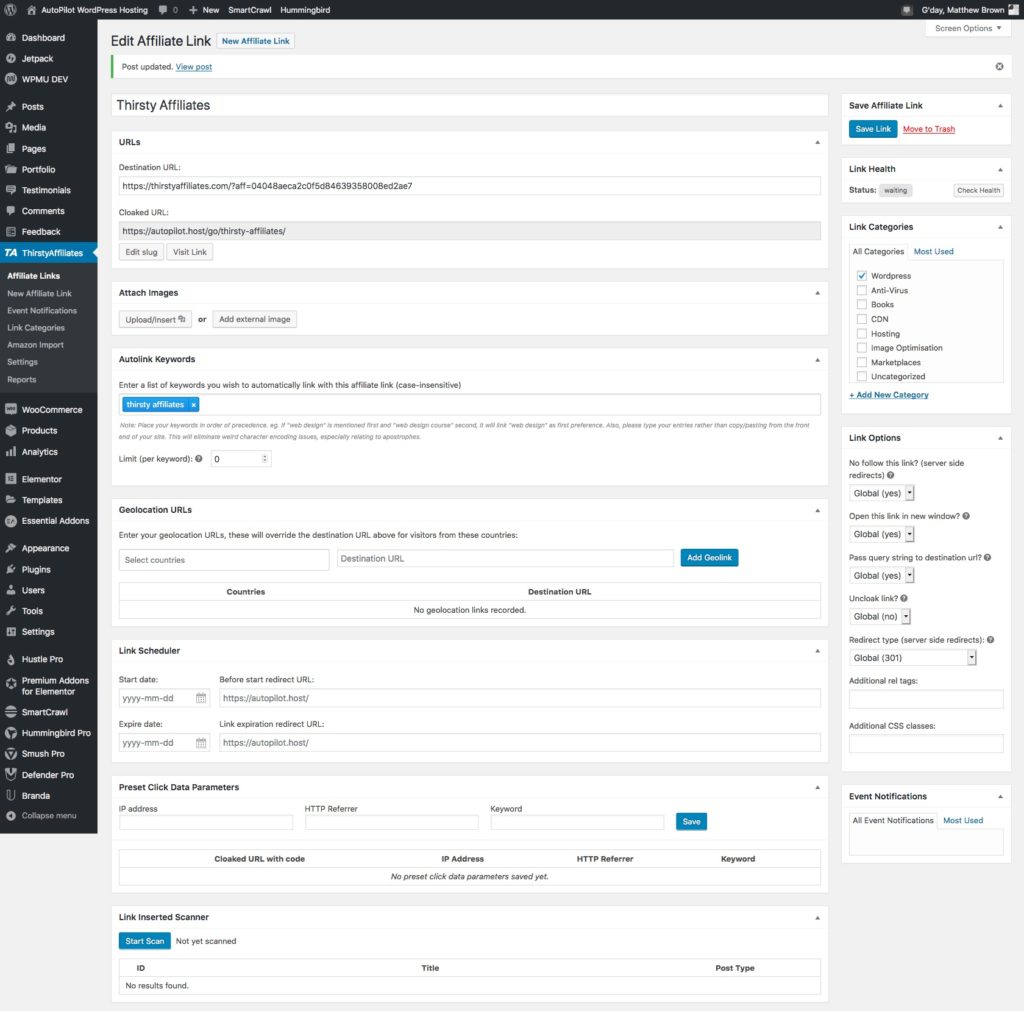
You can see the cloaked URL box has appeared with the slug based on your title. If you want to, you can edit this from here, as well as any other settings you might have missed or set incorrectly. Once you are done you can click the “Save Link” button again to save your changes.
That’s it! Your new affiliate link is ready for use! So let’s do something with it.
4. Insert your new affiliate link into your content.
You can copy the cloaked URL and paste it in as a link anywhere on your website, but I recommend using the built-in ThirstyAffiliates linking tools to add your links via shortcode. This ensures that if you have to change your cloaked URL for some reason, it doesn’t break your links. Shortcodes are also easier to deal with when using Amazon links that are not allowed to be cloaked.
In any text editor on your blog, select the text that you want to add an affiliate link to and look for the TA icon in the editor tools. Depending on the editor, you may have to use the appropriate expand or view more tools option to see it. For example, in the Gutenberg editor for WordPress, you have to click the arrow to show “More Rich Text Controls”.
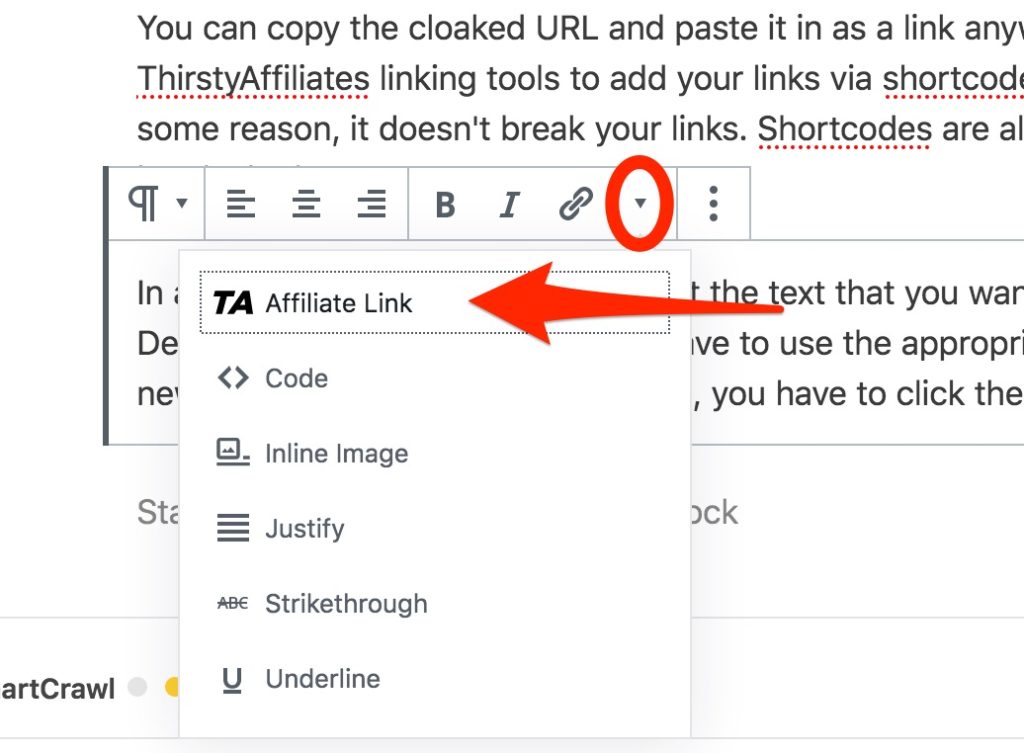
Click the “TA Affiliate Link” icon to bring up the link finder. You can then simply type to search for the affiliate link you want.
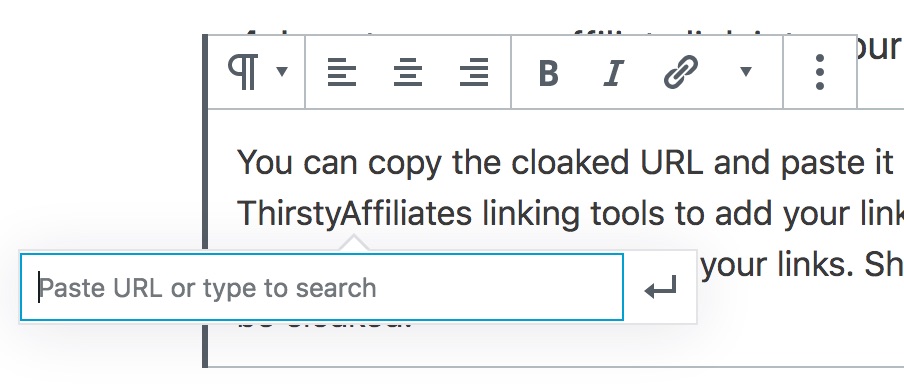
If I type “Thirsty”, it will find my newly created affiliate link and suggest any others that contain that same search term in their title.
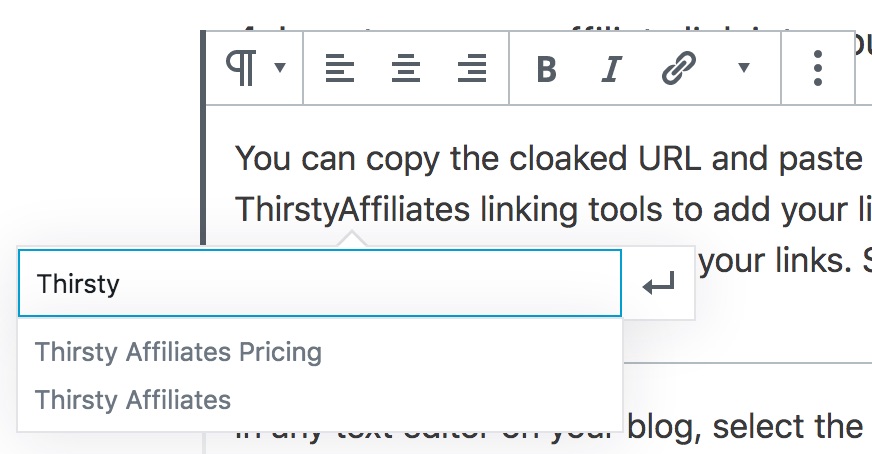
Click the one you want to select and it will pre-fill the URL into the box for you.
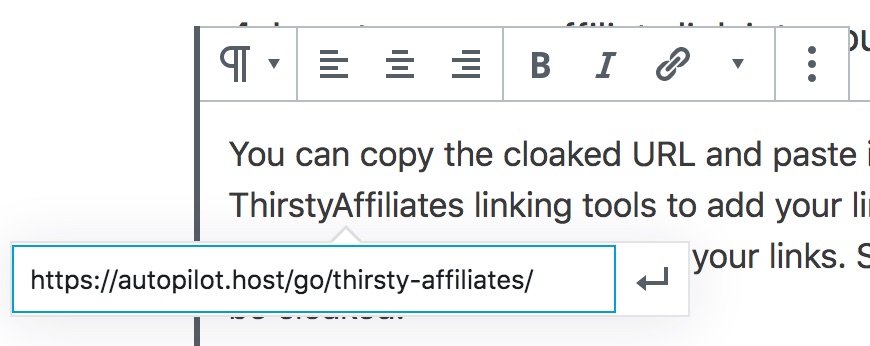
Once you are satisfied it is indeed the link you want, press enter or click the arrow to apply the link.
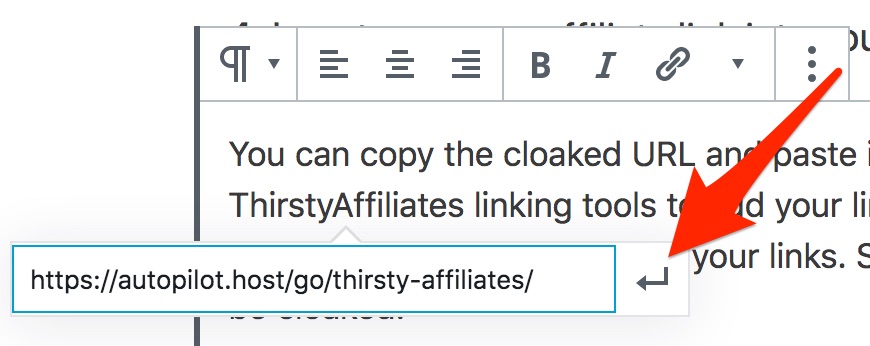
Your link will be added, and you can preview or change it if you need to by clicking on the linked text followed by the pencil icon that appears beside the link preview.
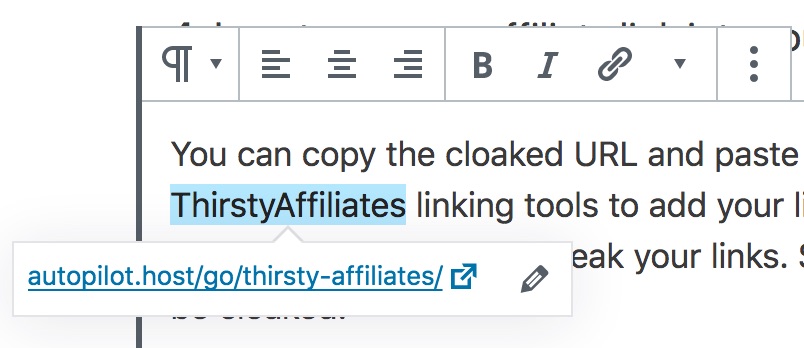
Click anywhere else in the editor to get rid of the link preview and you are good to save your article! I will note, while this appears to be adding the link directly, if you have set ThirstyAffiliates to use shortcodes by default, then it is actually using a shortcode for the link. It’s just hiding it from view for a more user-friendly experience.
5. Chill out, relax, the hard work is done
That’s it. You have created a new reusable, cloaked affiliate link with ThirstyAffiliates and added it to your blog post. It’s a simple process that can save you a lot of work tracking down and updating affiliate links in the long run. Just imagine having thousands of links to one affiliate throughout your blog. One day they close your account and you have to update all their links to point somewhere else. If you aren’t using a tool like ThirstyAffiliates, you would have to track them all down and update each link manually. With ThirstyAffiliates you only have to update each link once and it ensures that everywhere they occur on your site, they are pointing to your new link. Yay for simplicity!
I hope this article helps you get started with utilising affiliate links and the powerful ThirstyAffiliates tool. What do you think about it? Do you like it or is there another tool you prefer? Let me know in the comments below!
Chow for now.
Did this article help you with ThirstyAffiliates? Make sure you pin it to help someone else.
