- From the Dashboard: Quick Booking
- From Appointments
- From Schedules
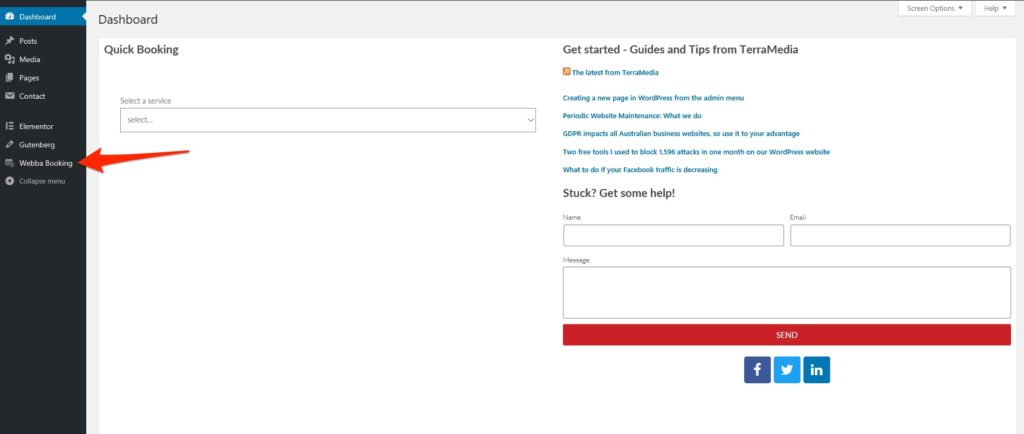
Dashboard Quick Booking
Quick Bookings enable you to place a booking right from the dashboard the moment you login. They provide a great way to place a booking quickly, however they do not allow you to see what other bookings are already scheduled.
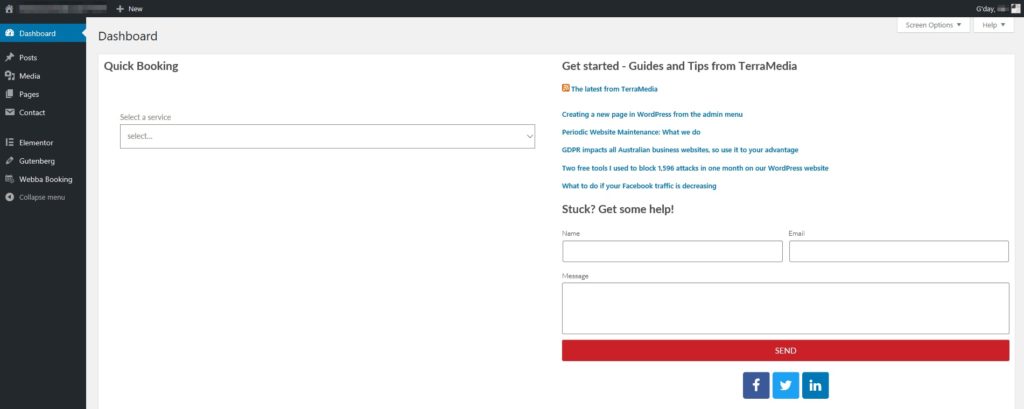
Once you have logged into the dashboard you will see the Quick Bookings heading and form.
Note:
At this time, quick bookings are only available on websites built by TerraMedia. If your website was not built by TerraMedia and you would like to add quick bookings to your Webba Bookings WordPress website, contact us for more information.
Quick Bookings enable you to place a booking right from the dashboard the moment you login. They provide a great way to place a booking quickly, however they do not allow you to see what other bookings are already scheduled.
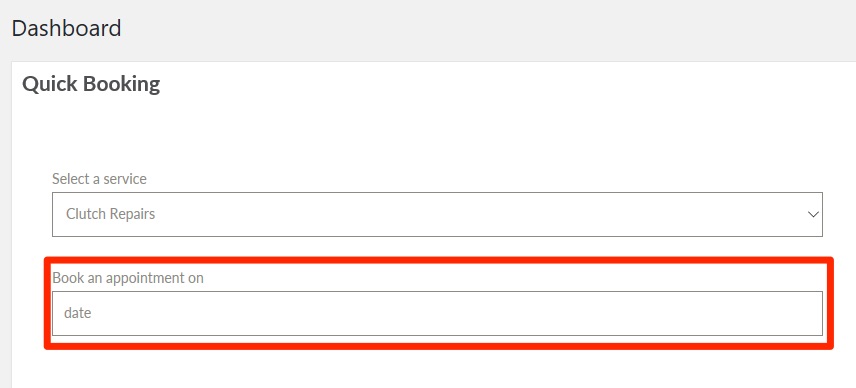
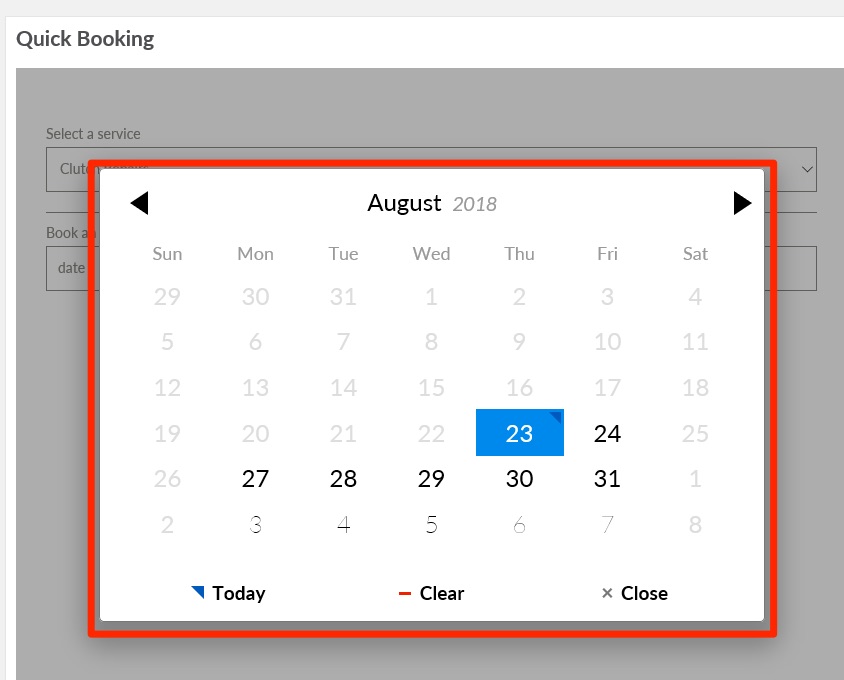
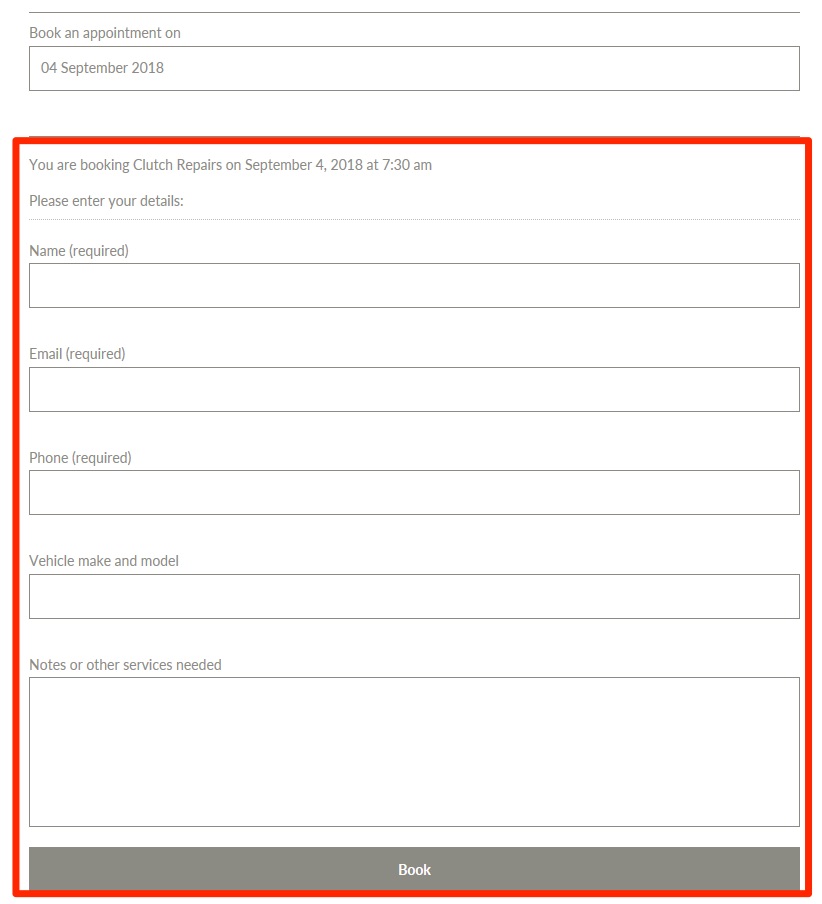
After you select a date for the booking, the form will appear with all the details that are required for this booking.
Typical fields might include the time, name, email, phone number and any additional notes.
Once you have filled out all the required fields and any additional details, click the “Book” button at the end of the form.
Tip:
You must enter all the required fields at this screen. This includes the email address. If a customer doesn’t want to provide an email address, you could let them know that they will receive a booking confirmation and a reminder email the day before their appointment.
If you are unable to enter all of the required details, you will need to use one of the other methods to add your booking.
Appointments
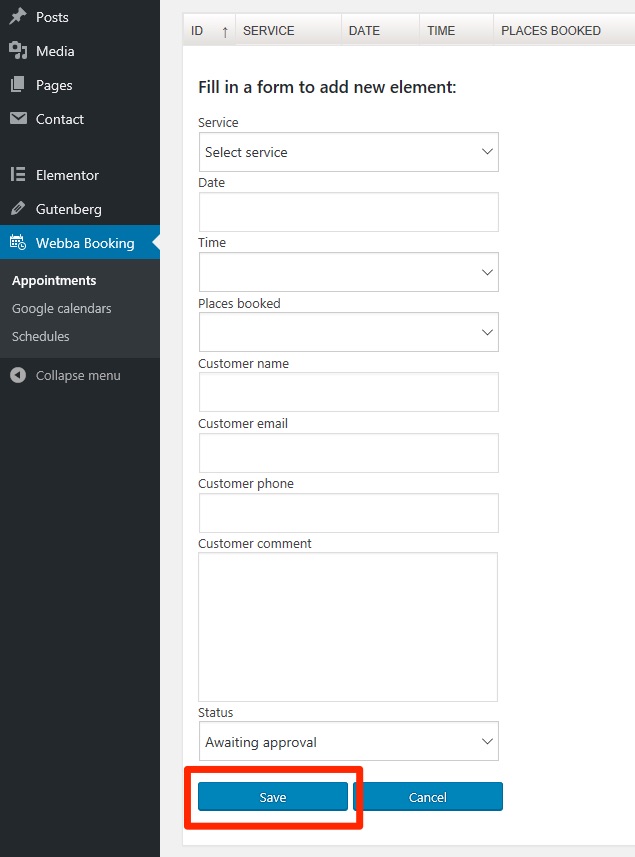
The appointments screen allows you to manage all of your appointments in a list format, including adding new ones.
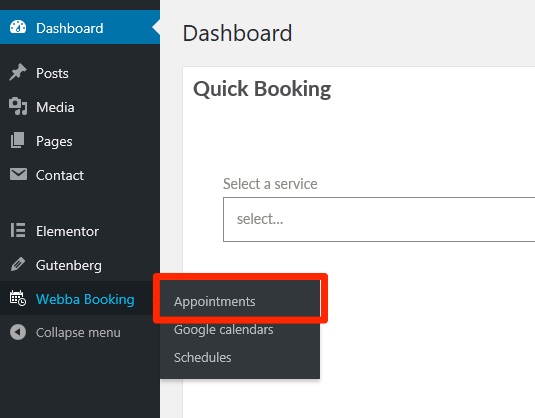
You can access the Appointments page by navigating to the Webba Booking admin menu.
Fill out all of the form sections, starting by selecting the service.
- Service: Select from the list of services available.
- Date: Choose the date from the date selector that appears after you click this field.
- Time: Depending on your service setup, you may have one time or many times available. In either case, a time must be selected from the drop-down list. It will only show times that are available on the selected date.
- Places Booked: This is the service quantity being booked. For most businesses, this will only be one at a time. However, a customer could potentially book two cars in for a service on the same day. In this case you could select two places in one booking rather than entering two separate bookings.
- Customer details: Fill in the customers contact details
- Customer comment: Enter any additional details that are relevant about the booking.
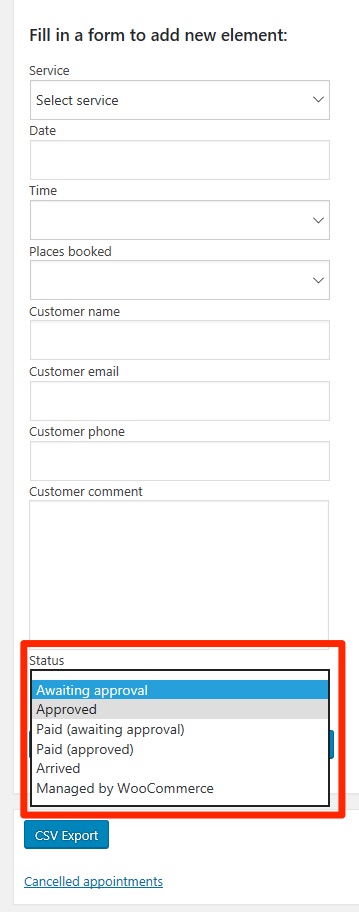
- Status: A number of statuses are available depending on the booking status. Typically, if you are creating the booking as an admin, you would select the “Approved” status.
Tip:
You must enter all the required fields at this screen. This includes the email address. If a customer doesn’t want to provide an email address, you could let them know that they will receive a booking confirmation and a reminder email the day before their appointment.
The status options you can choose from are:
- Awaiting approval: The booking has been placed but it needs confirmation by the service provider, which is probably you. That means that unless you need to double check something first, you probably won’t use this status when you are adding a booking in the backend. When this option is selected, an email will be sent to the customer after you save the booking, telling them that their booking has been received but that it is awaiting confirmation.
- Approved: The booking is all good to go. The customer will received an email telling them their booking has been confirmed when this status is selected and the booking is saved.
- Paid (awaiting approval): This status is the same as the normal “Awaiting approval” status, except that it indicates the customer has already paid. You will only use this status if you accept payments at the time of booking.
- Paid (approved): This is the same as the normal “Approved” status, except that it indicates the customer has already paid. Again, you will only use this status if you accept payments at the time of booking.
- Arrived: If you choose to track bookings that have arrived at your location, you can update the status to “Arrived” to indicate that they are there and “checked-in”.
- Managed by WooCommerce: You will only use this status if your website processes bookings through the WooCommerce plugin. It serves to indicate that customer notifications are being managed by that plugin instead.
Note:
At this time, the appointments form does not show custom fields when adding new appointments, only when editing existing ones that already have a custom field filled in.
Webba Booking is working on adding this functionality.
Schedules
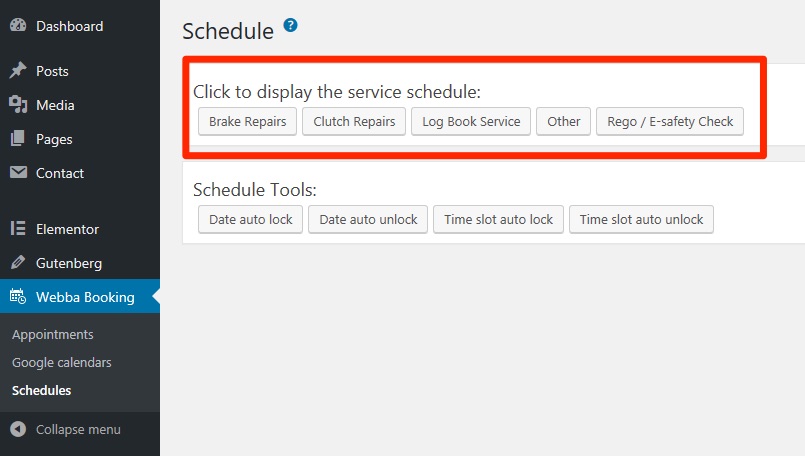
The schedules screen allows you to manage all of your appointments in a calendar format by appointment type, including adding new ones.
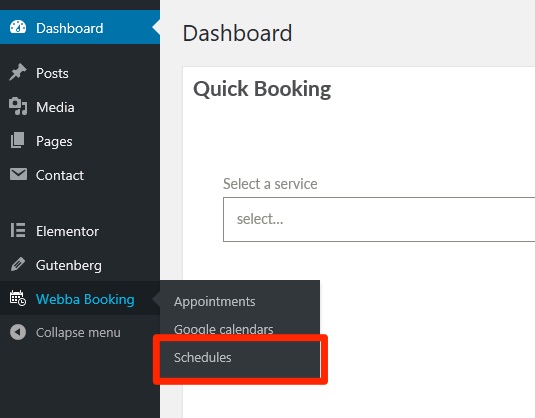
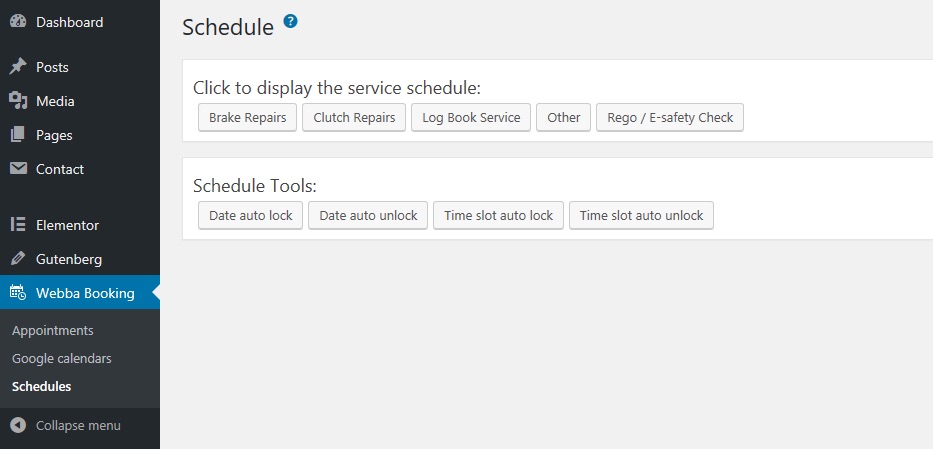
You can access the Schedules page by navigating to the Webba Booking admin menu.
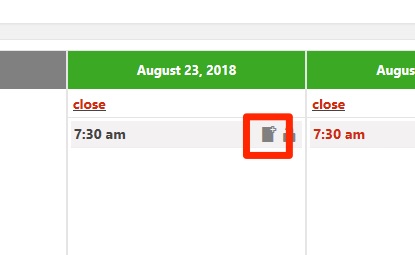
You will be taken to the Webba Booking service schedule screen which shows you the schedule for the current week. In this example, the only times available for booking are August 23 and 24 at 7:30am.
If you don’t see the date you need, click the “Show Next Week” button to bring up the next week. Repeat until you see the date you need.
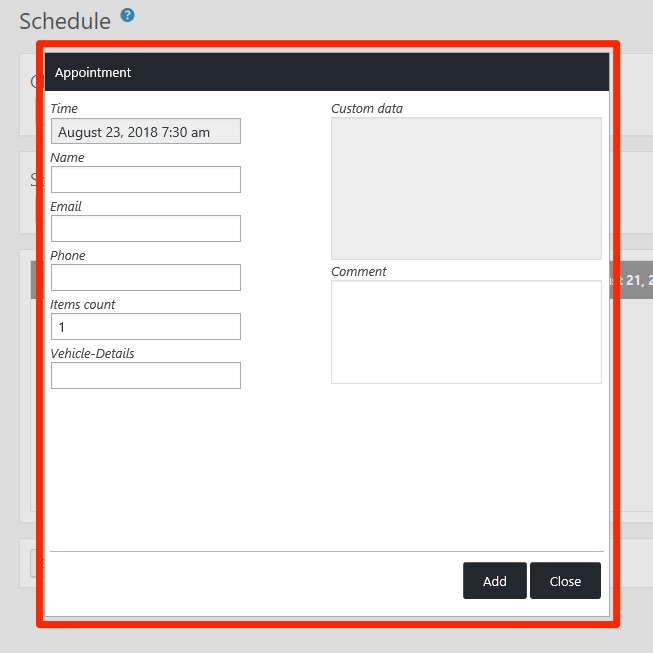
Fill out all of the form sections, starting by entering the name. You will see there are greyed out fields that cannot be changed.
You will also see there is no option to select a service, this is because you are adding a booking directly to the schedule for the service you selected earlier.
- Time: Preset based on the time you clicked in the schedule. If you’ve clicked the wrong date or time in the schedule, you will need to close the form and select the correct date and time in the schedule.
- Customer details: Fill in the customers name and contact details.
- Items count: This is the service quantity being booked. For most businesses, this will only be one at a time. However, a customer could potentially book two cars in for a service on the same day. In this case you could select two places in one booking rather than entering two separate bookings. By default, 1 is pre-filled for you and in most cases you won’t need to change it.
- Custom Fields: Any custom fields will be visible after the item count. In this example, there is a custom field for Vehicle Details.
- Comment: Enter any additional details that are relevant to the booking.
- Status: There is no status option on this form. Appointments added here will be awaiting approval after submission.
Once you have finished entering all the booking details, make sure to click the “Add” button at the end to save your booking.
After you click add, a notifications will be sent to the customers email address letting them know their booking has been placed and is pending confirmation.
This new booking will now be visible in the schedule at the date and time you selected.

