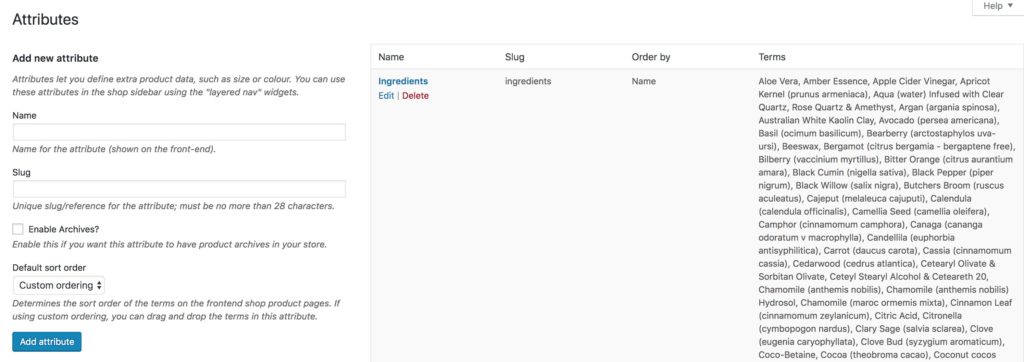
Attributes in WooCommerce are used for variations in variable products as well as providing a consistent way of displaying information between products. For example, you may have ingredients that are used in multiple products. Sizes that are used by multiple products, colours, and the list goes on. Attributes are where you set these consistent options for use across all of your products. Each of the variable options an attribute provides is called a term. A colour attribute’s terms could include things like blue, yellow, orange, and red.
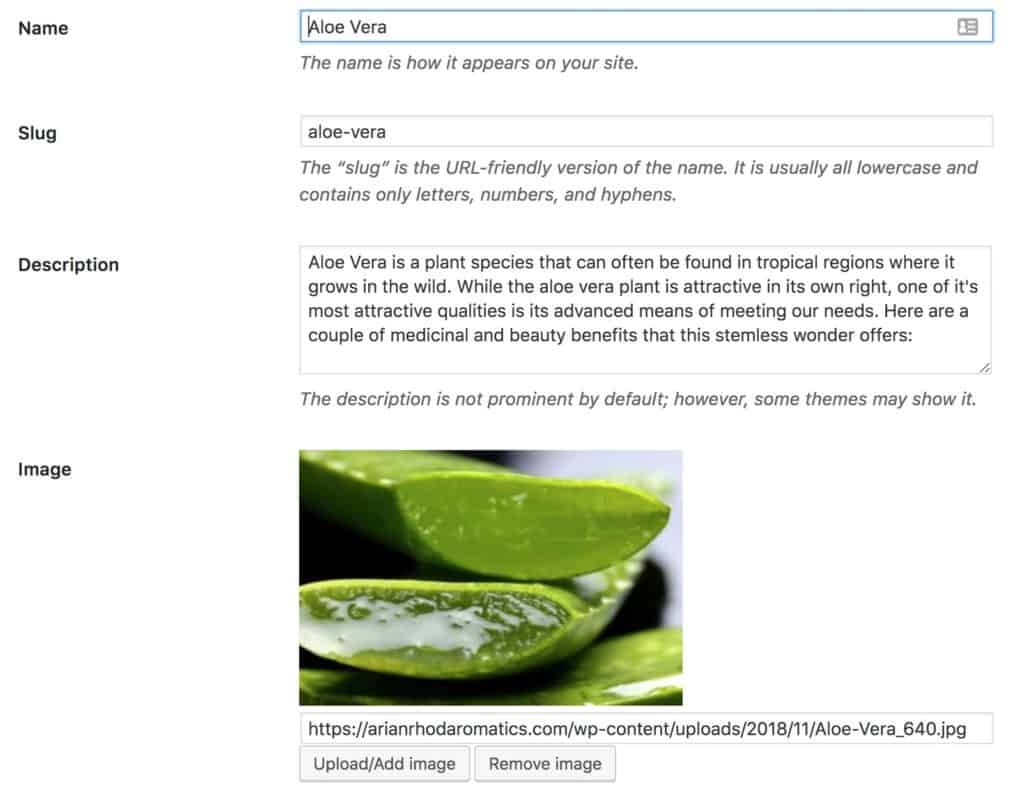
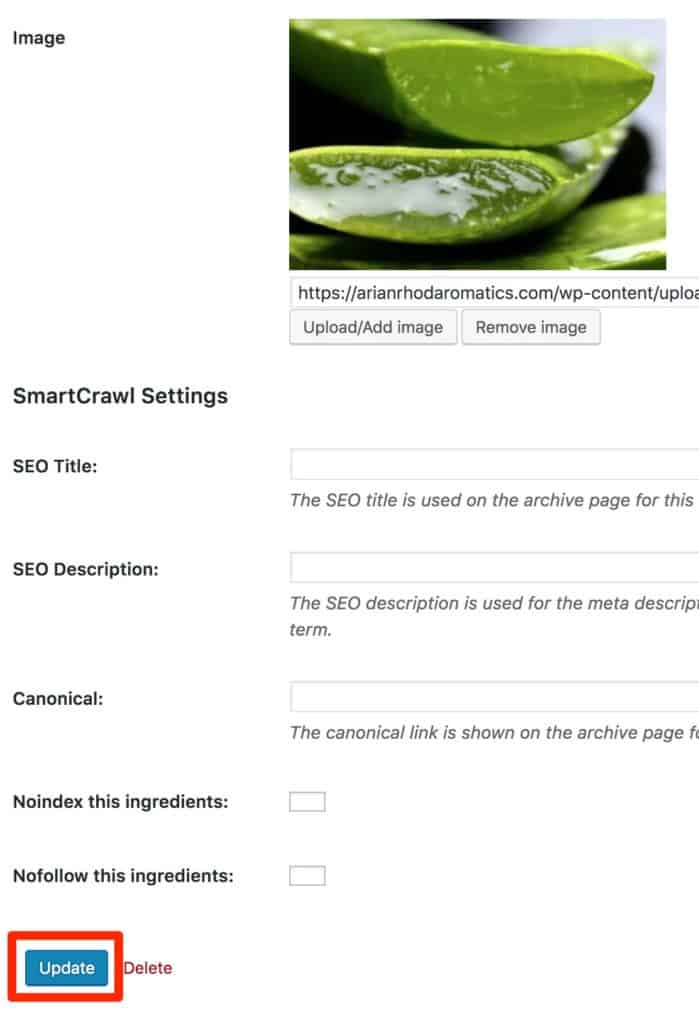
If your attribute has had images enabled, and please note, this will only work for attributes that have image support enabled, then you can set an image to go with each attribute term. This image can be used in places like an attribute term list.
We are going to add an image to our attribute terms in these instructions.
Please note, image support on attributes is not native to WooCommerce and must be added. These instructions assume you have added it already. If you have not, we recommend using the “Categories Images” plugin. You will also need to update your theme as per the plugin documentation to display the attribute images.
You might also be interested in:
Setup the product attributes
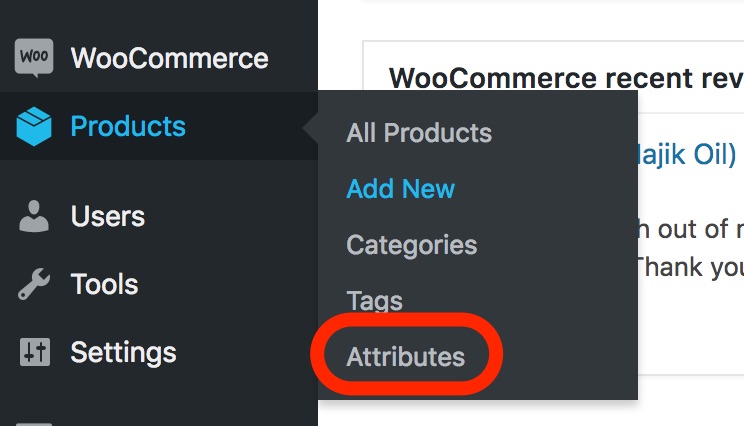
To add an image to your attribute term, first navigate to the attribute list.
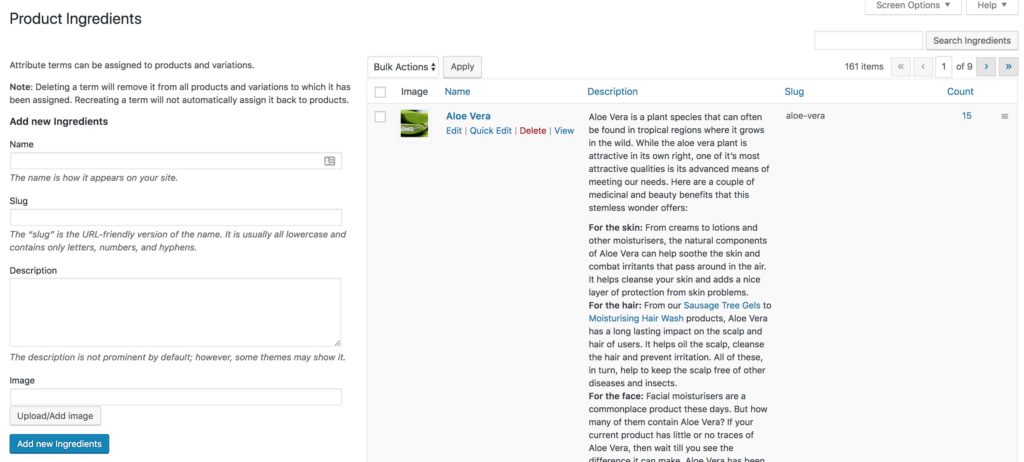
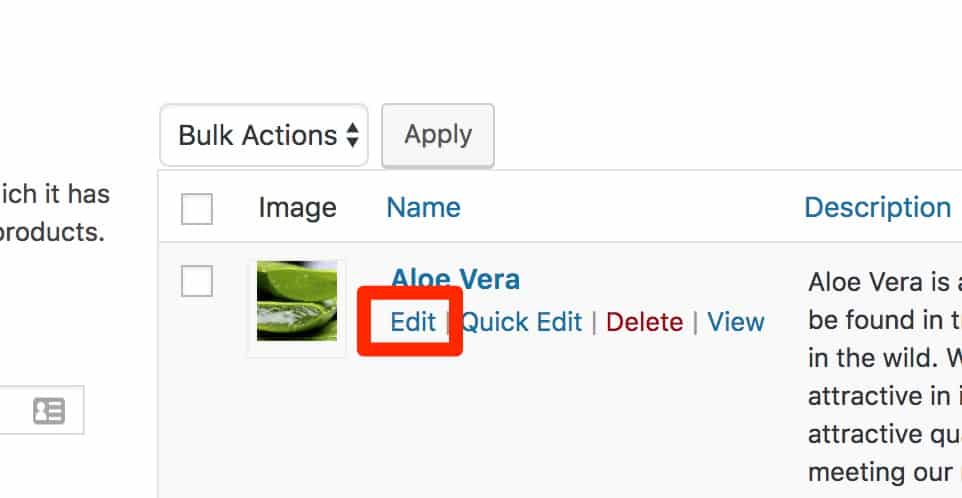
You will be taken to a similar screen, listing all the terms that belong to the selected attribute. In this case, we are looking at the ingredients attribute. We can see the Aloe Vera term with a description and an image. We can also see that 15 products have this term assigned to them in the count column.


